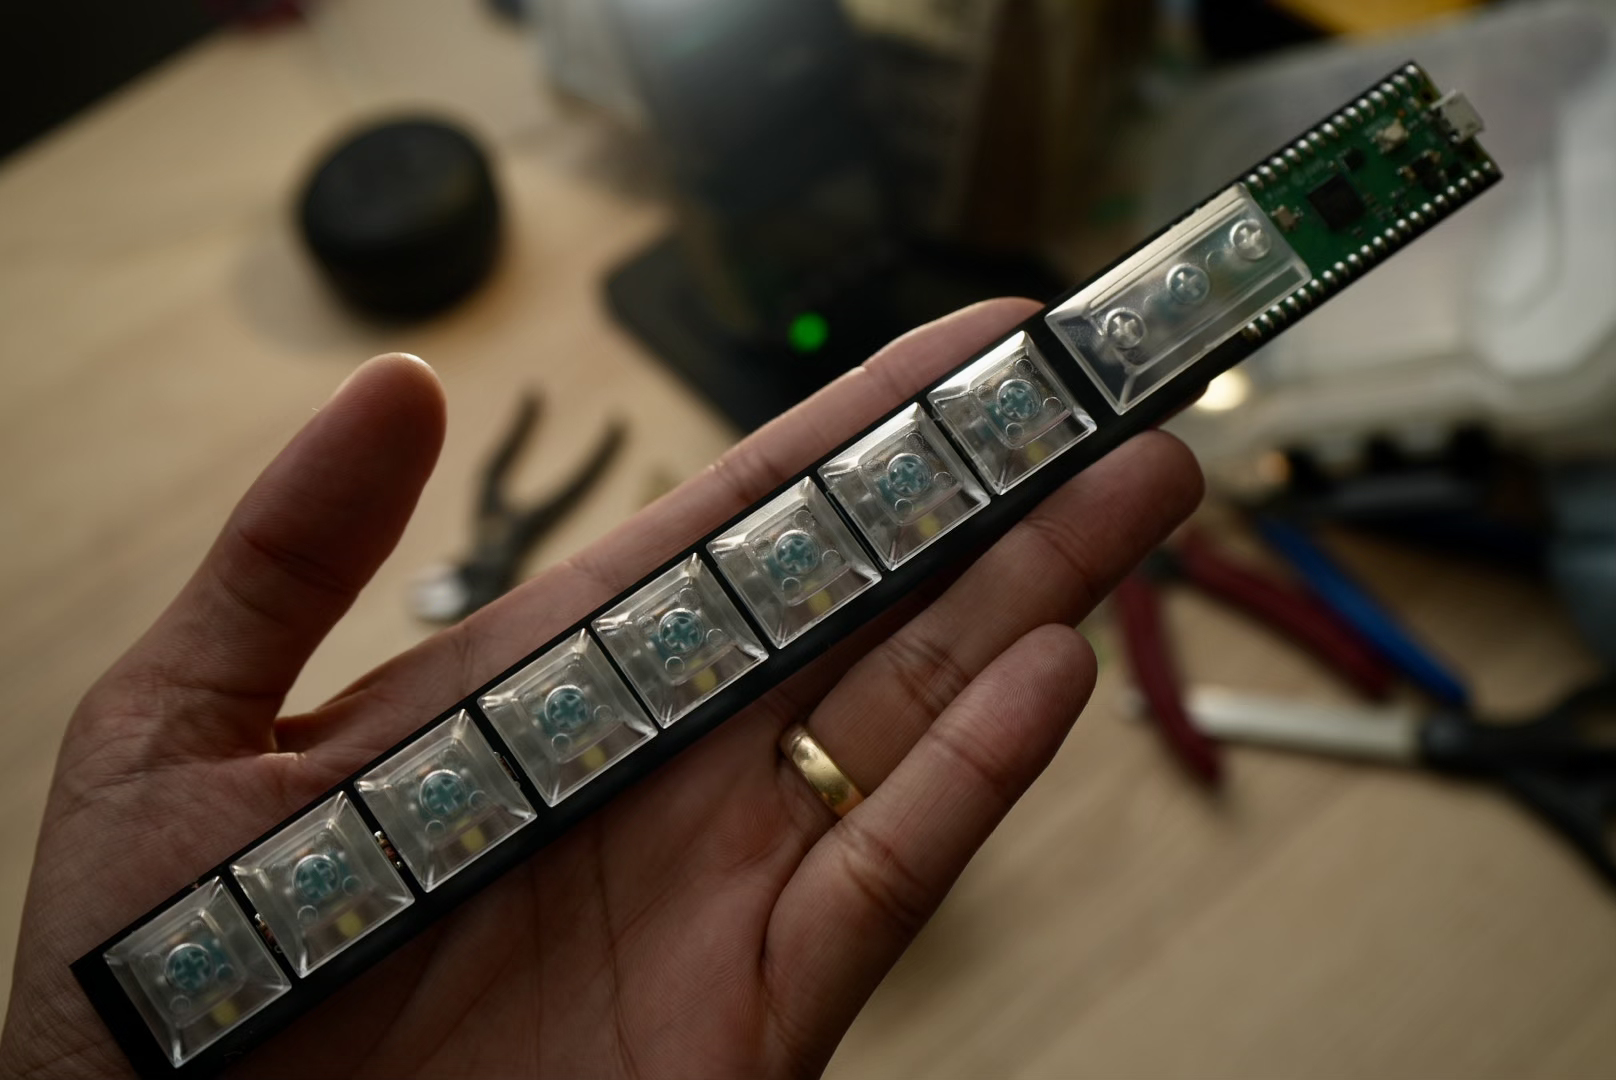
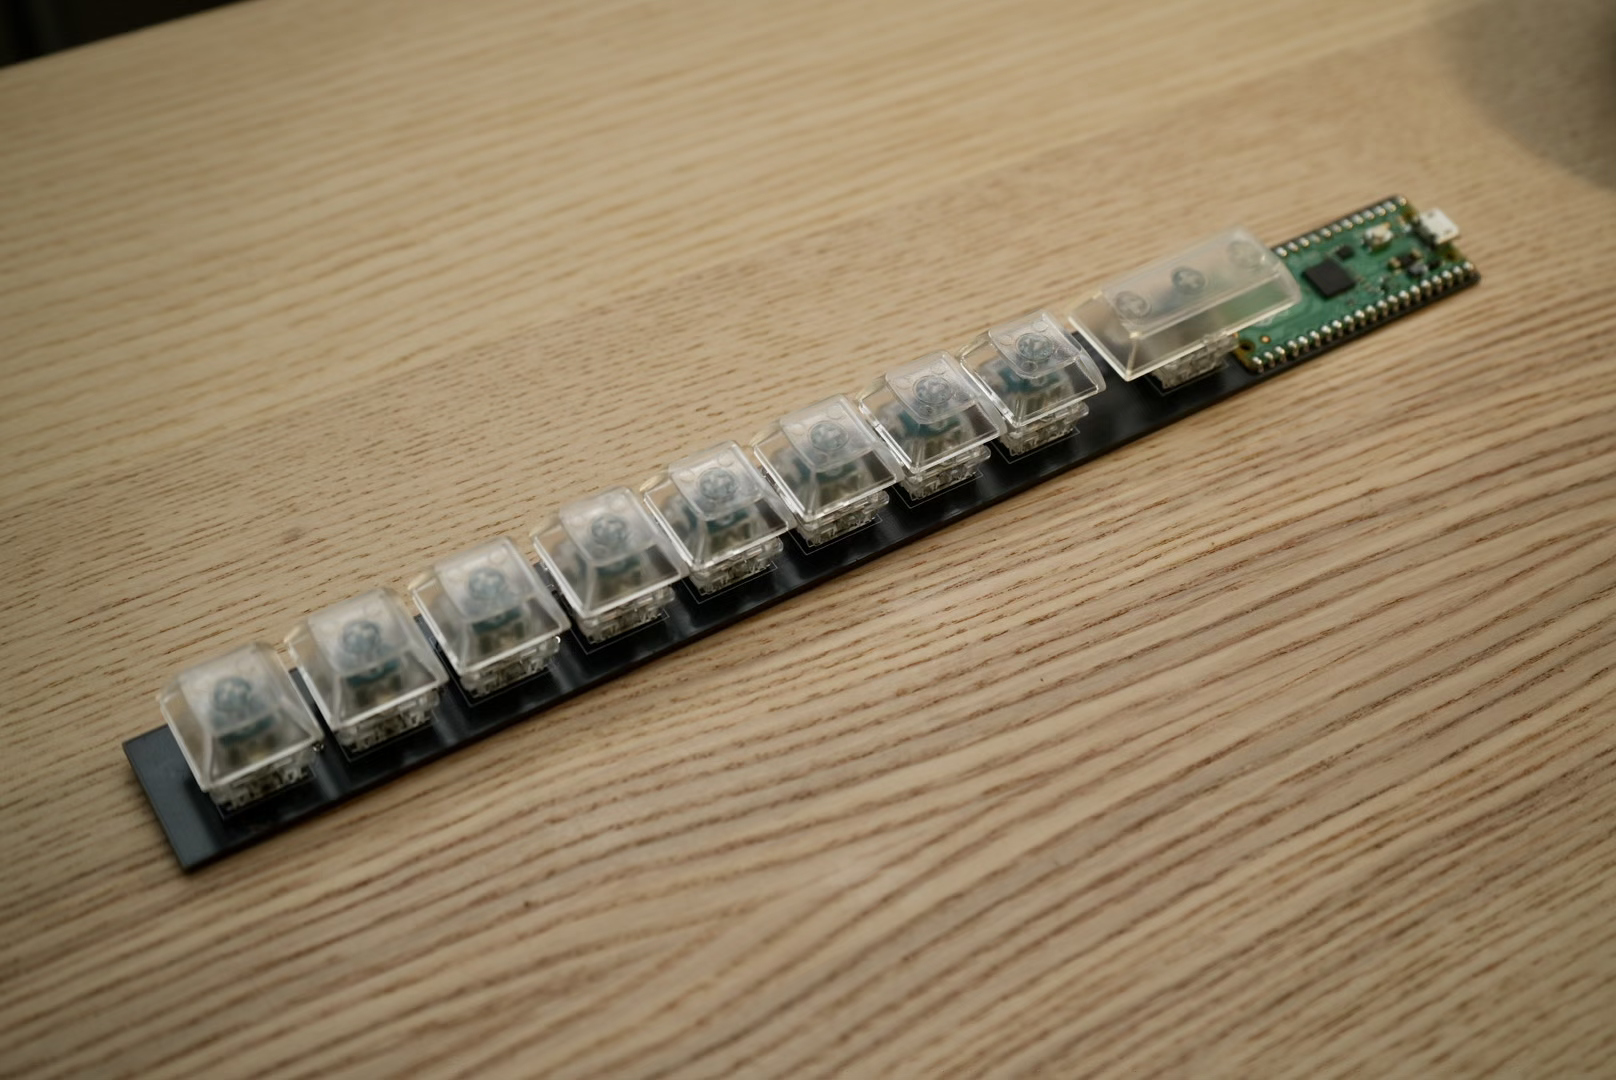
Eight-Switch KB DIY Edition Build Guide
Materials
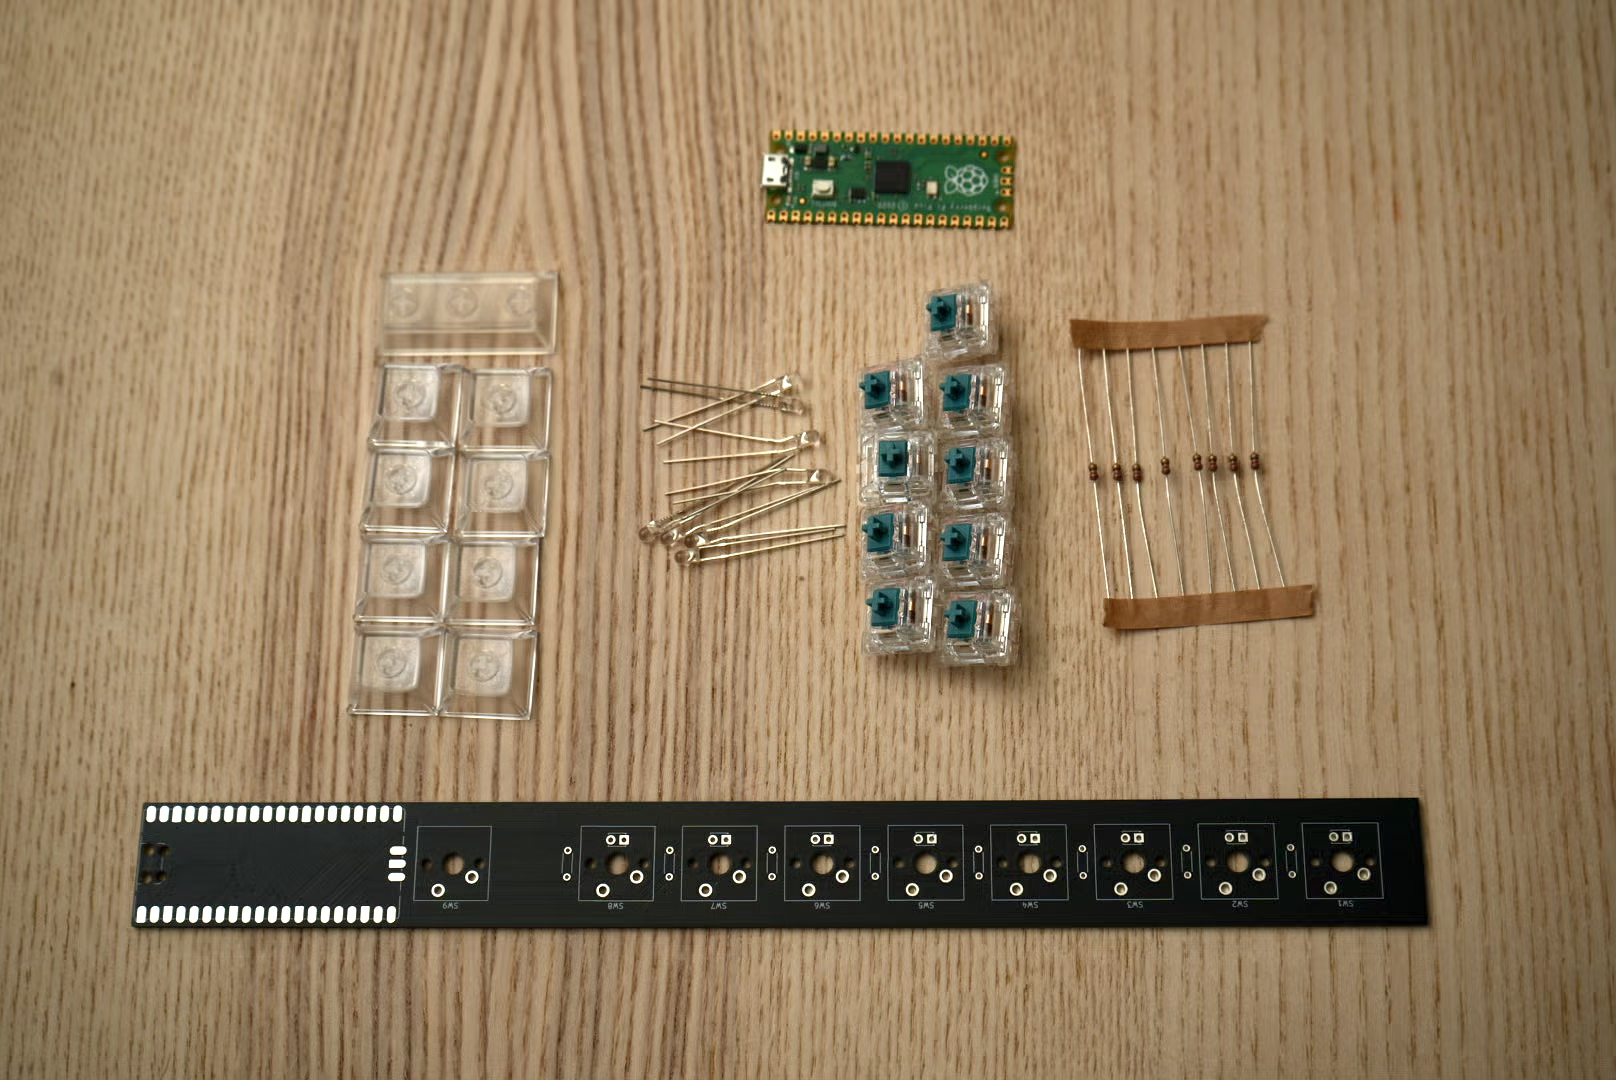
Your Eight-Switch KB DIY edition should have the following in the package:
- 1 circuit board
- 9 cherry style keyswitches (note: if you want to use another type of switch, now would be the time to switch them out)
- 8 1u Keycaps
- 1 2u Keycap
- 8 resistors
- 8 white LEDs
- 1 Raspberry Pi Pico
You will also need:
- A soldering iron
- A spool of rosin-core solder (lead free is preferred and recommended for your safety, but leaded works better)
- Some soldering flux (technically optional, but will make the soldering work better)
- A helping-hands tool to keep your hands free while soldering
- Side-cutters (to cut off excess leads)
Assembly
You can put the different parts in and install them however you want, however, the order I’ve provided will make for the easiest assembly.
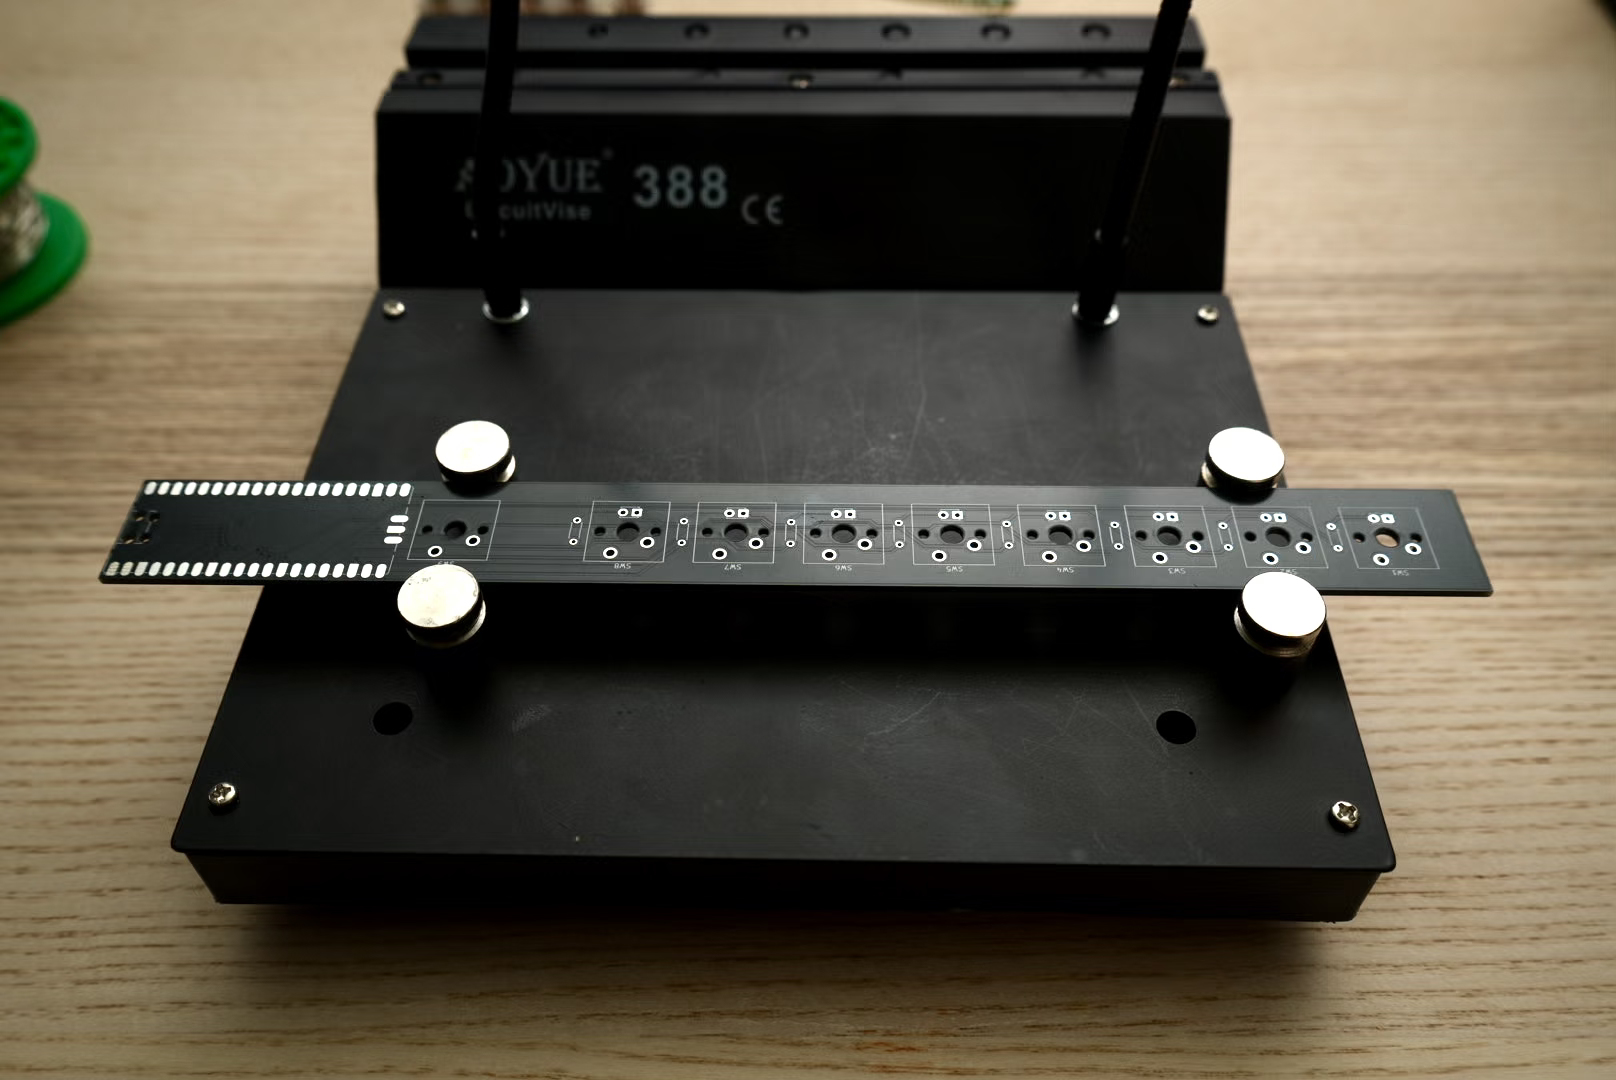
1. Solder the Raspberry Pi Pico onto the circuit board
- place the raspberry pi pico on the pads for it with the micro USB connector facing out
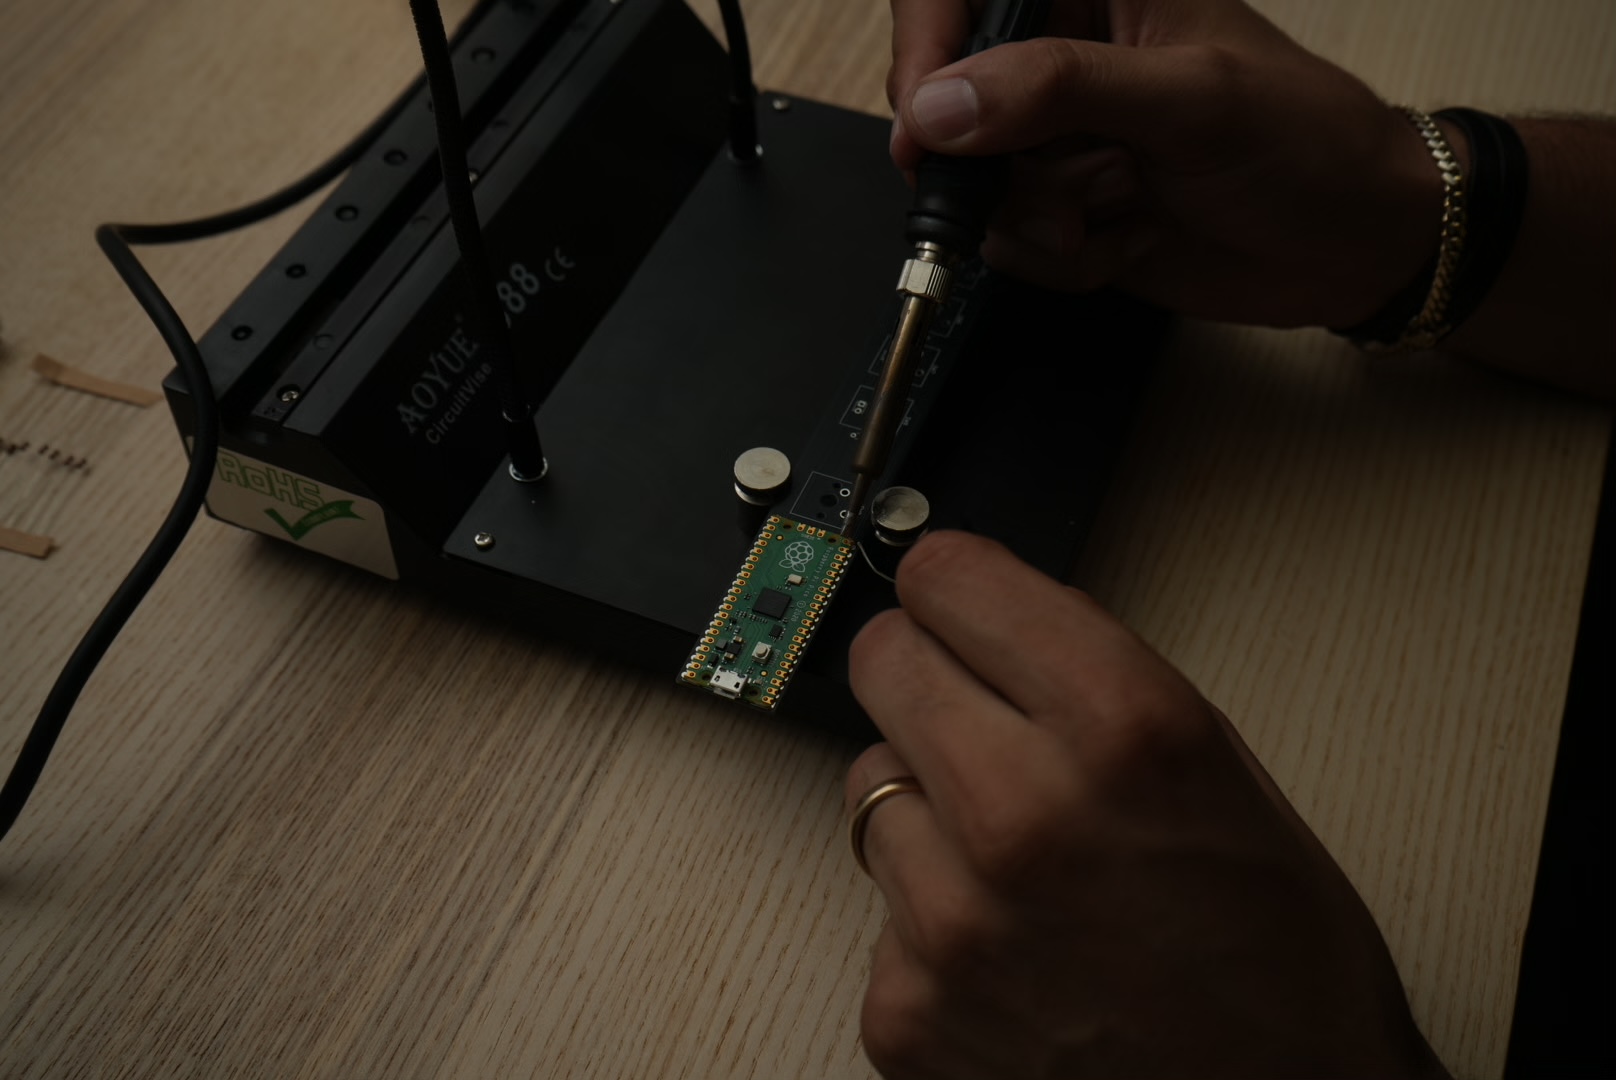
- Use your soldering iron to heat up the pad and the connection at the Raspberry pi pico at the same time
- slowly feed solder into the pad
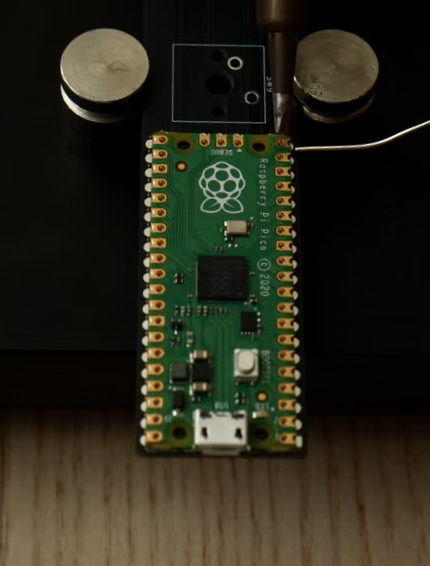
- Solder only one corner and re-do it until the raspberry pi pico lines up perfectly with the pads for it
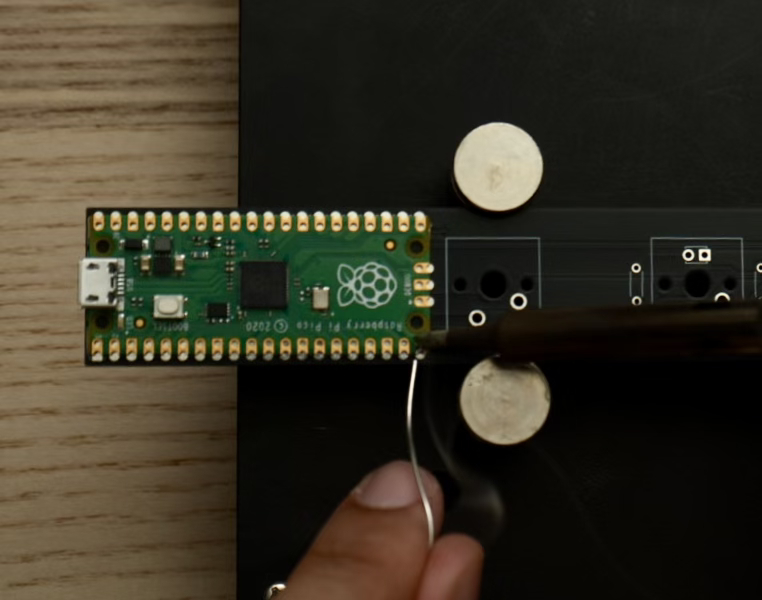
- repeat this process for the rest of the pads
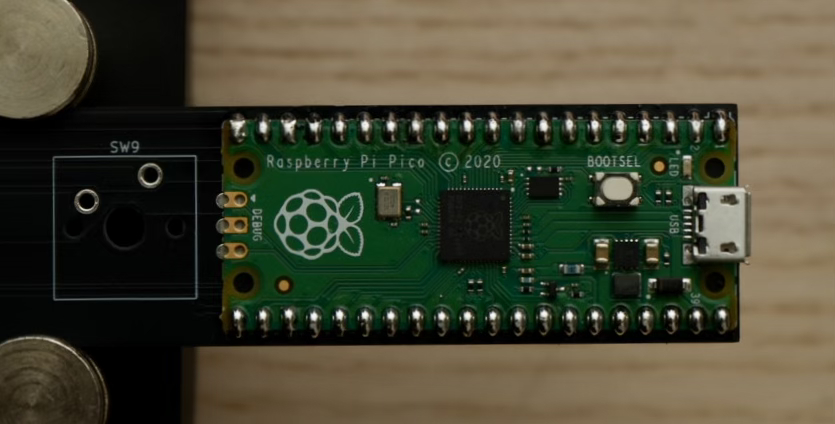
2. Solder the resistors onto the circuit board on the top side (the side with the printing on it)
- The resistor holes are the ones between the “sw” labeled squares on the board (the keyswitch footprints).
- Place the resistor leads into the resistor holes from the top.
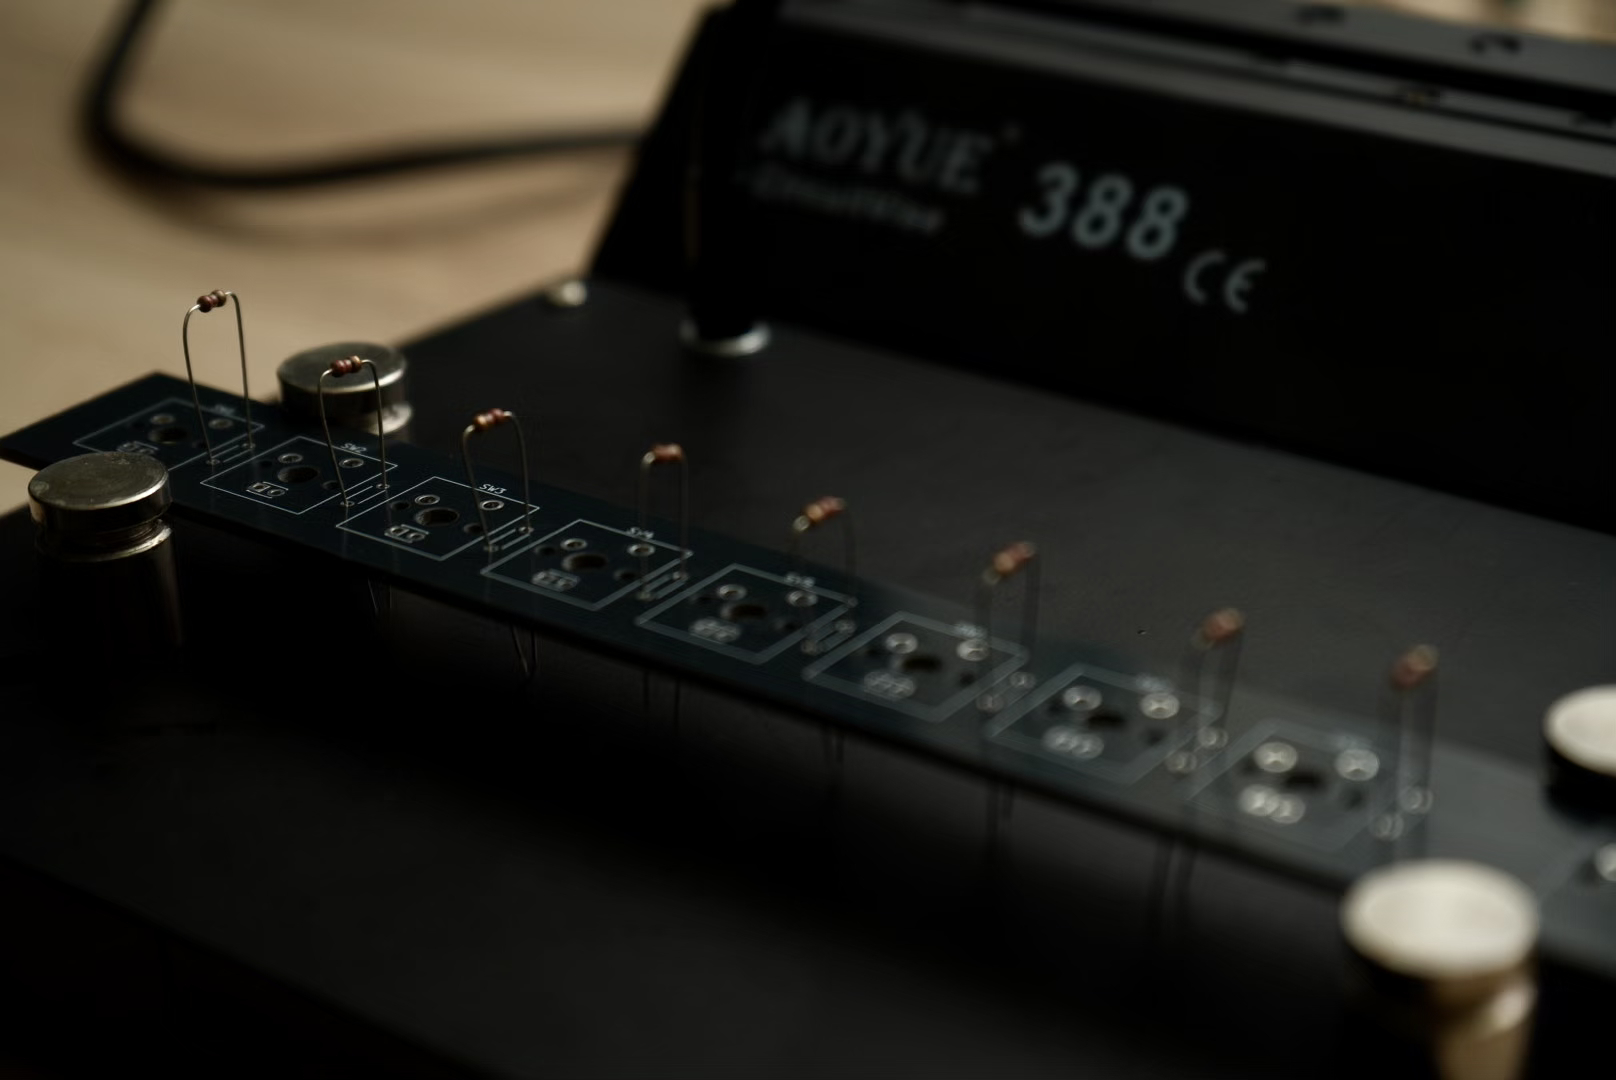
- Bend the resistor leads down on the back-side of the board to hold the resistors in temporarily to work on the other side of the board.
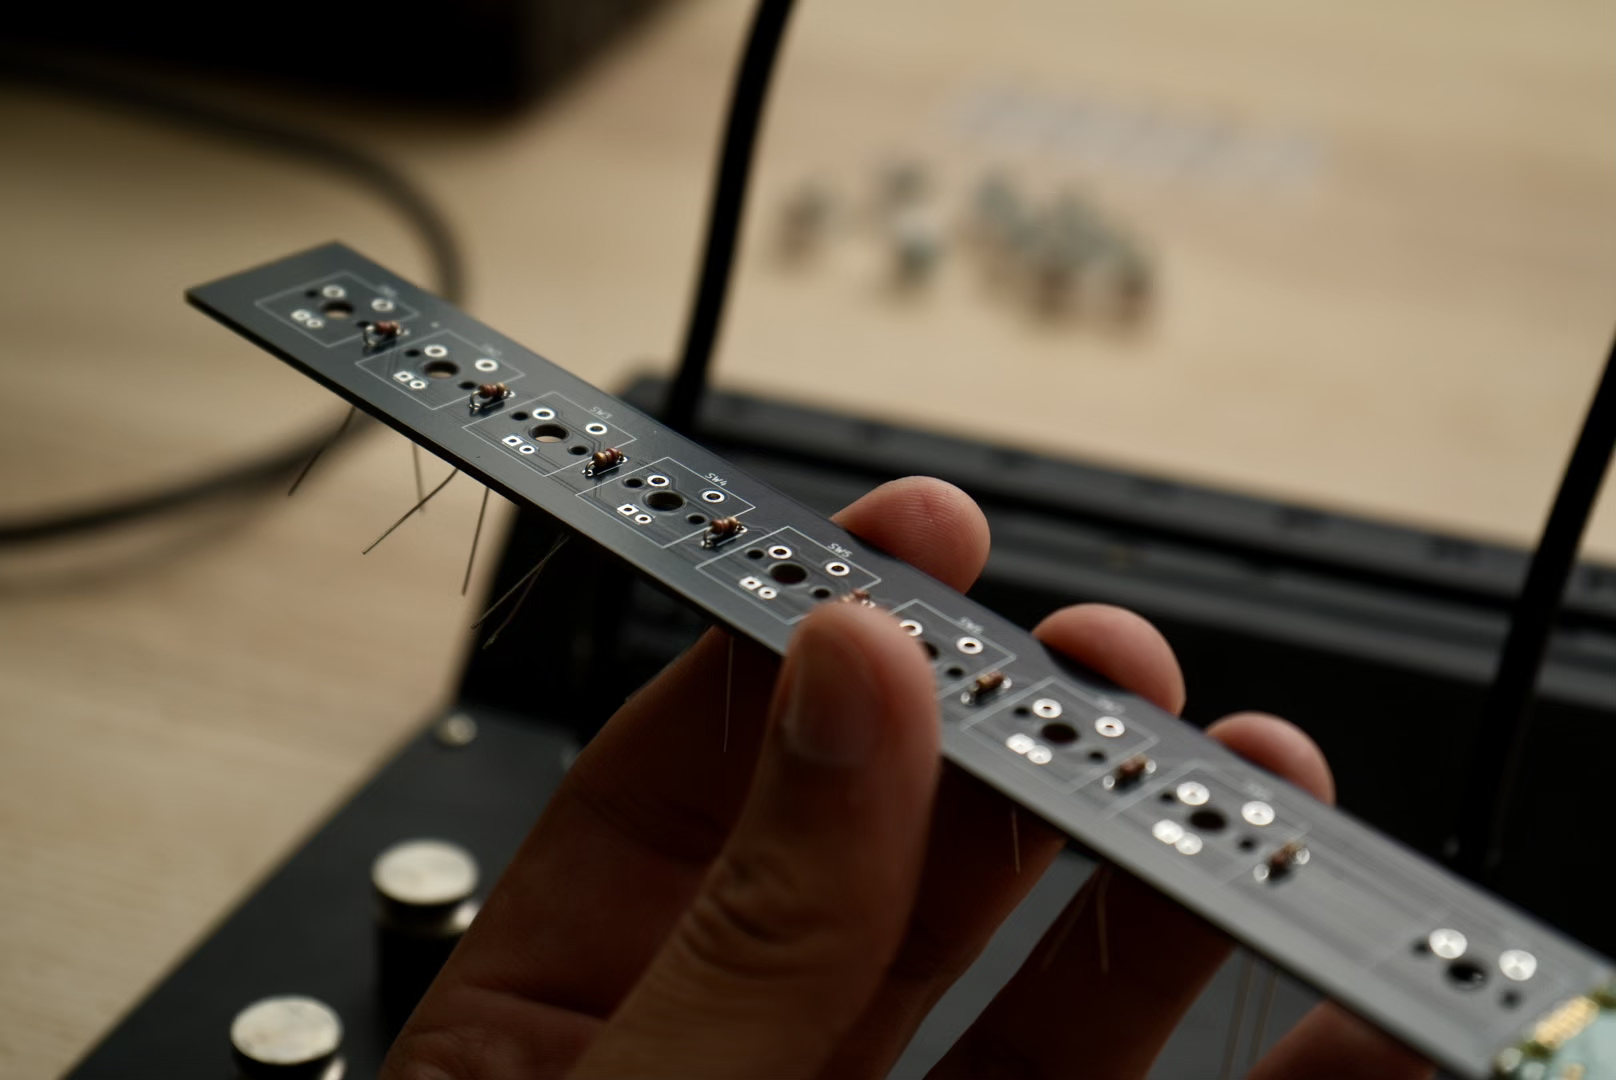
- Use your hot soldering iron to heat up the resistor lead and the hole in the board at the same time.
- Slowly feed solder into the joint where the hole and the resistor lead meet.
- Cut excess wire from the soldered LED leads
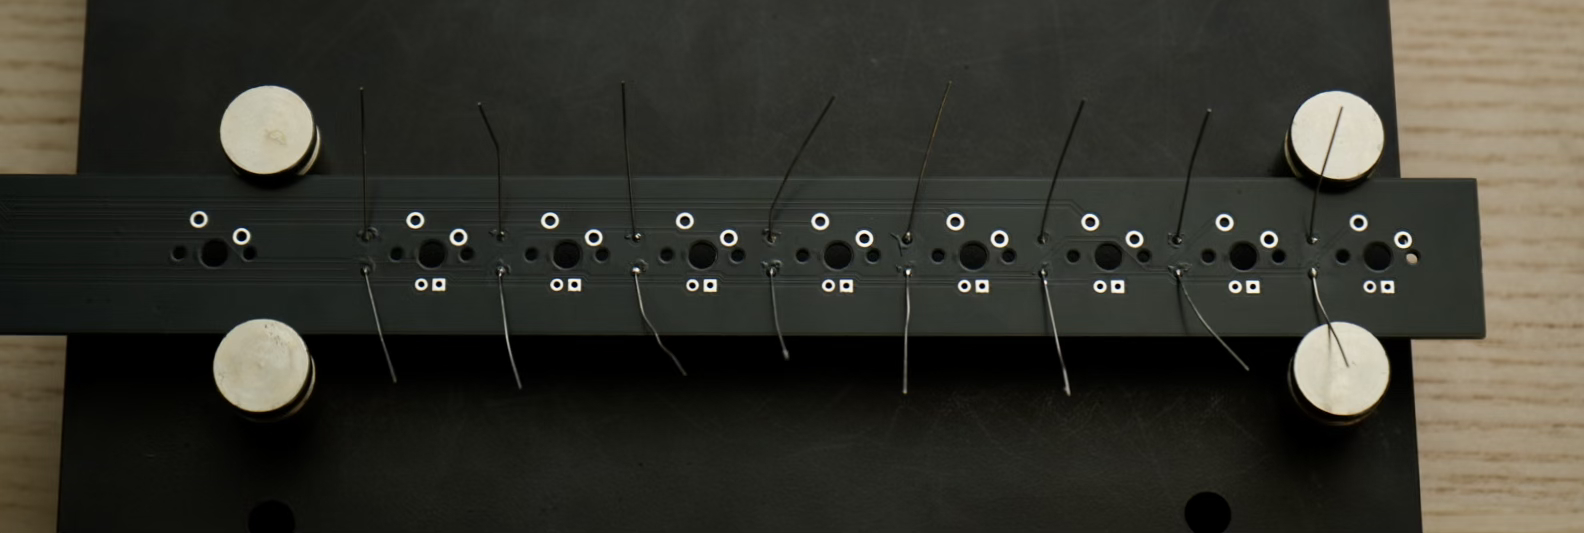
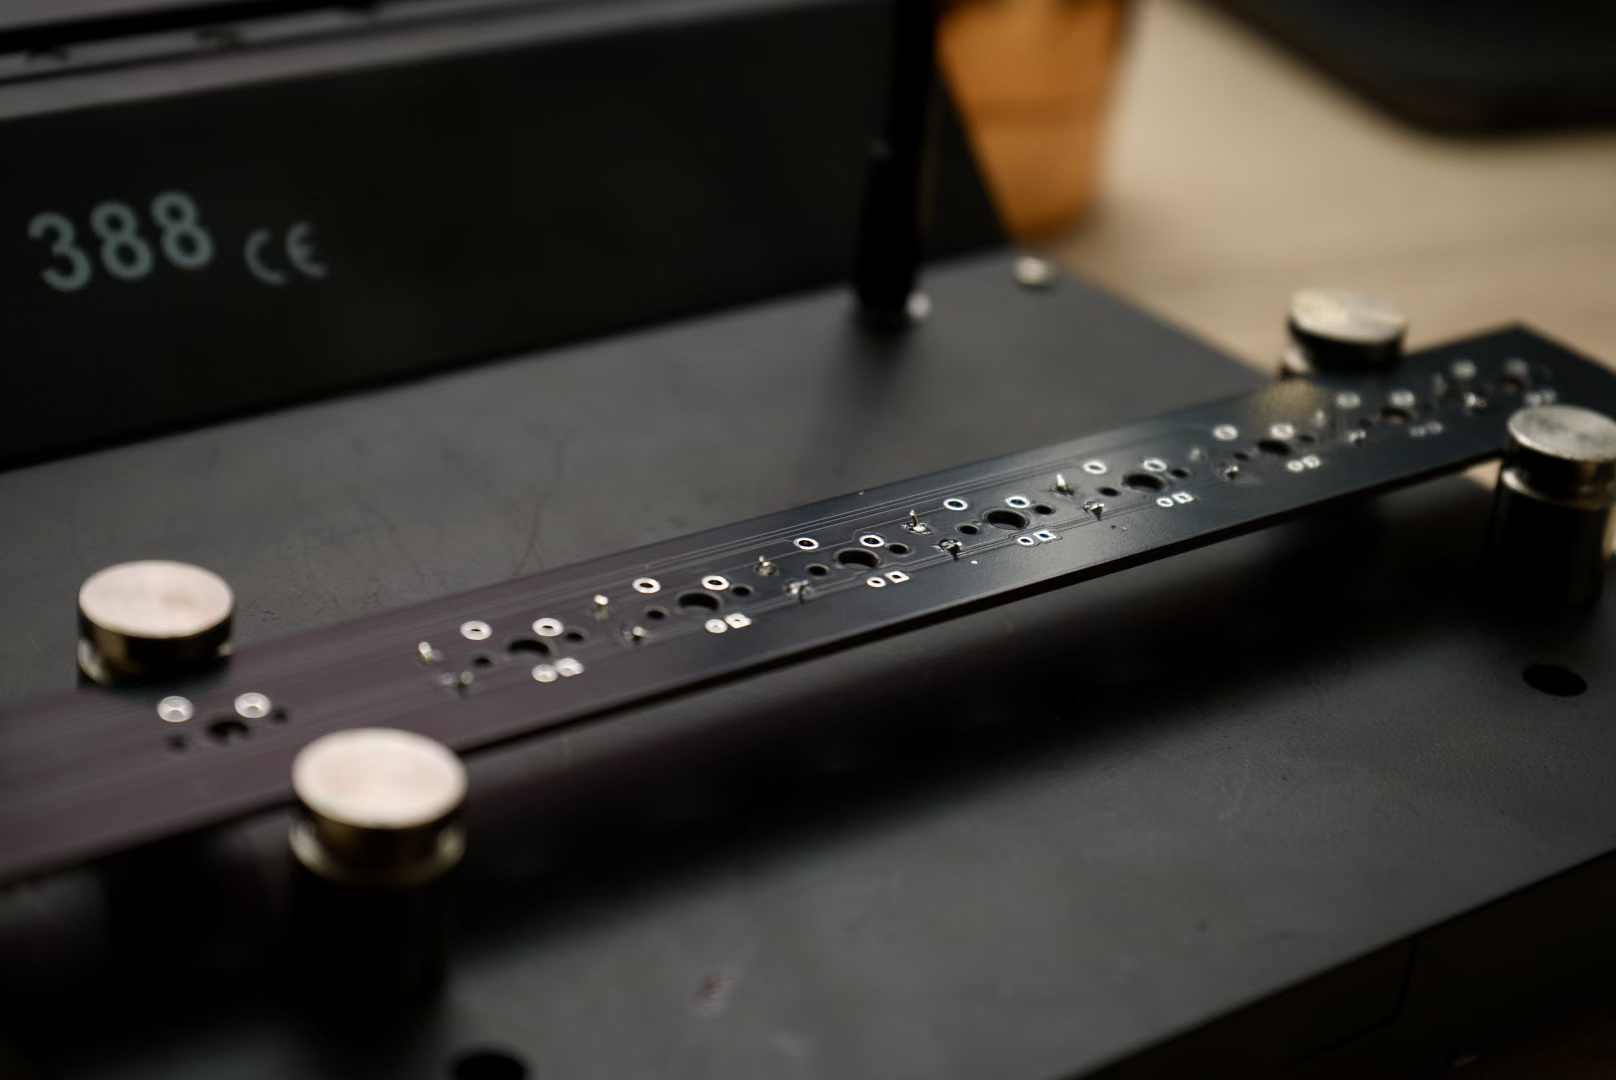
3. Solder the keyswitches and LEDs onto the circuit board
- Put the LEDs through the slot in the keyswitch (as pictured) NOTE: The LEDs are polarized and must be placed in the correct direction. The long lead on the LED should go through the round plated hole in the circuit board. Look at the image for an example.
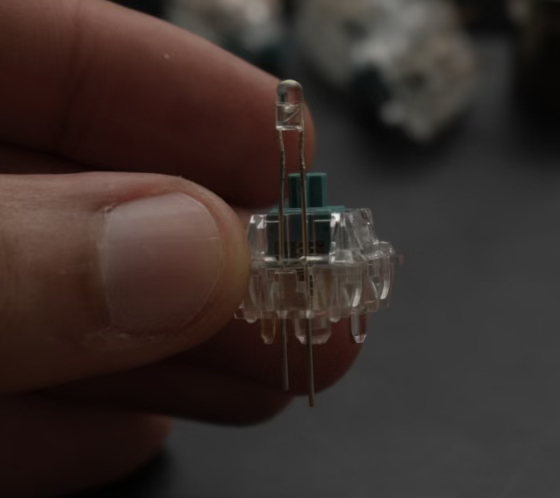
- place a keyswitch and LED into the holes for them, holding the LED AND switch at the same time to ensure they are flush to the board
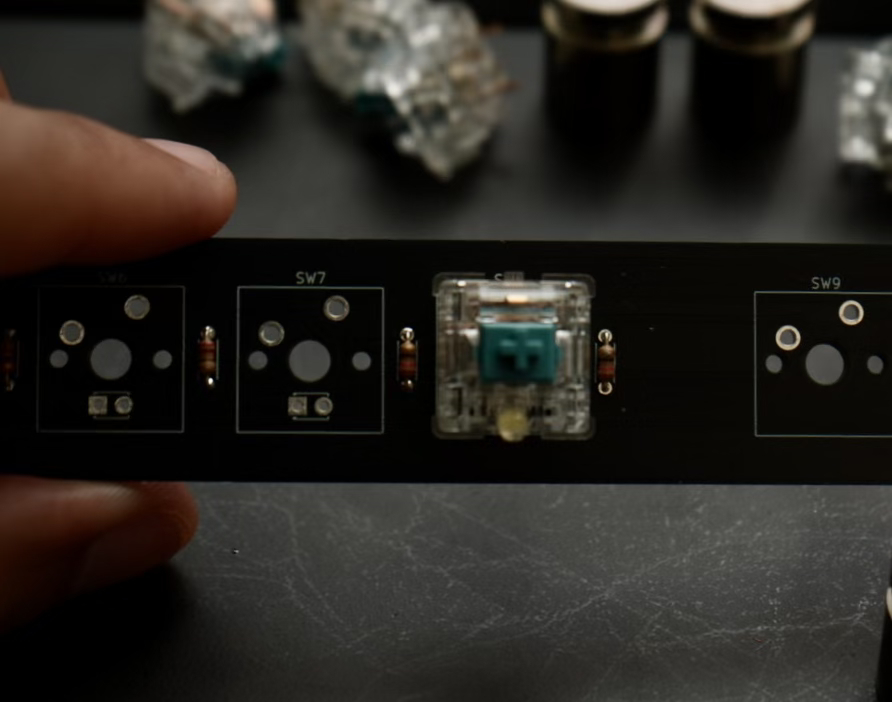
- Solder the LED leads the same way you did the resistor leads
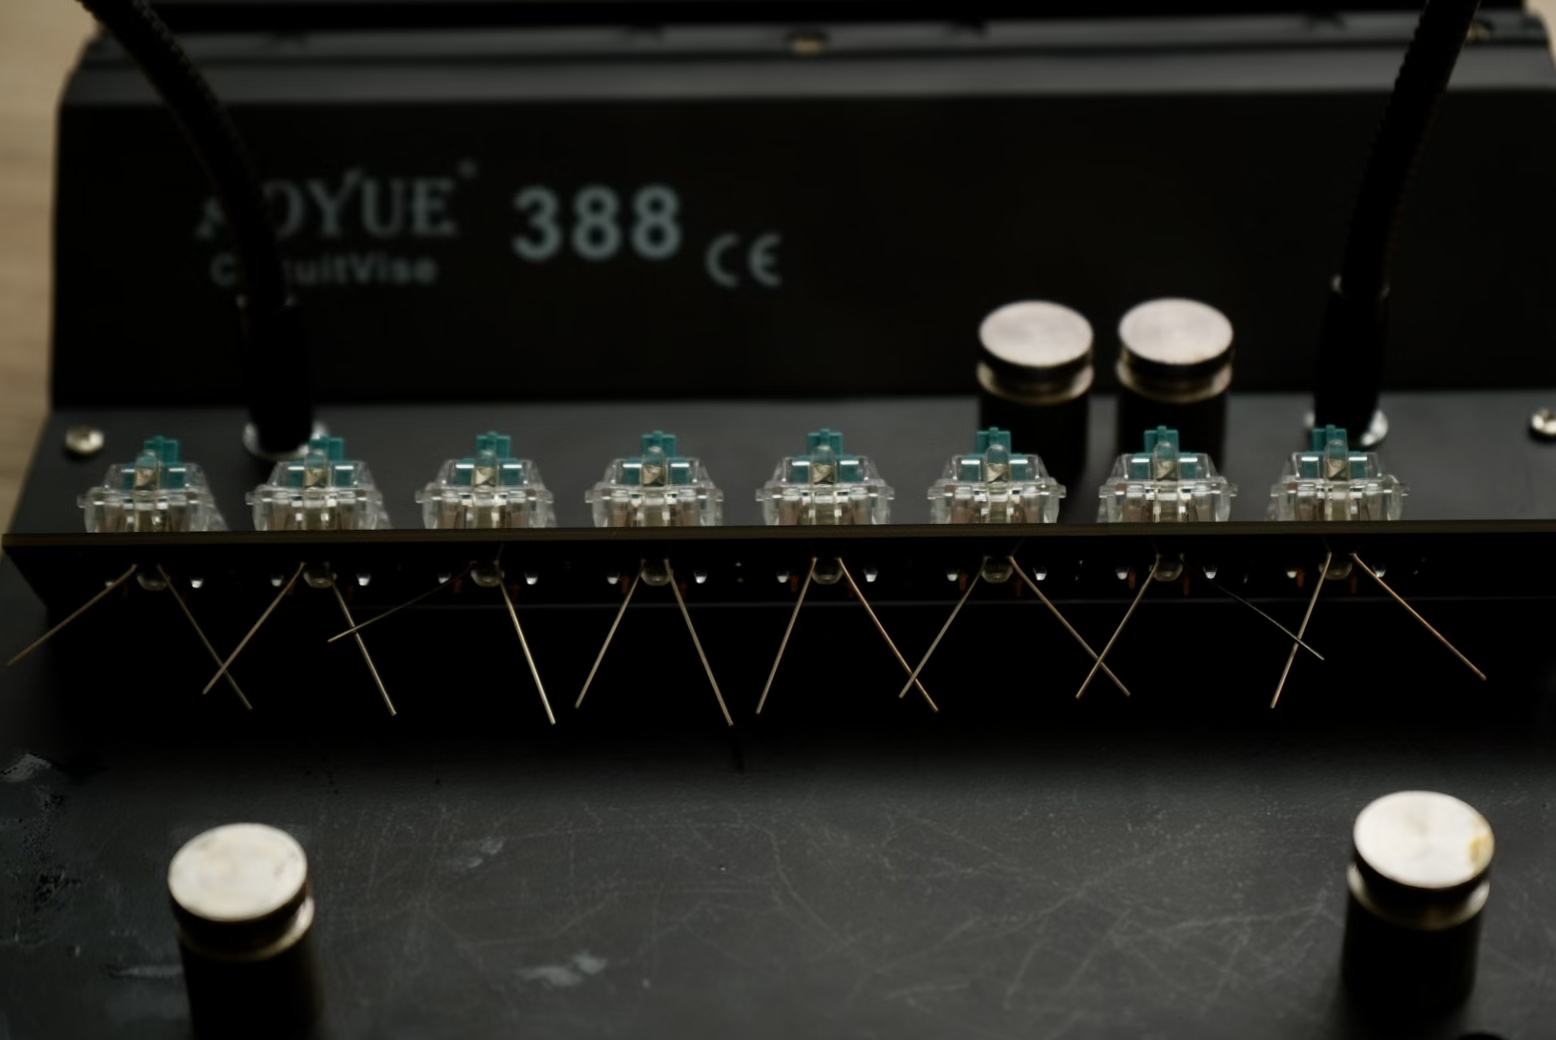
- Solder the keyswitch lead the same way you did the resistor lead
- repeat this process until all 8 keyswitches with lights are soldered
4. Solder the last keyswitch (without LED)
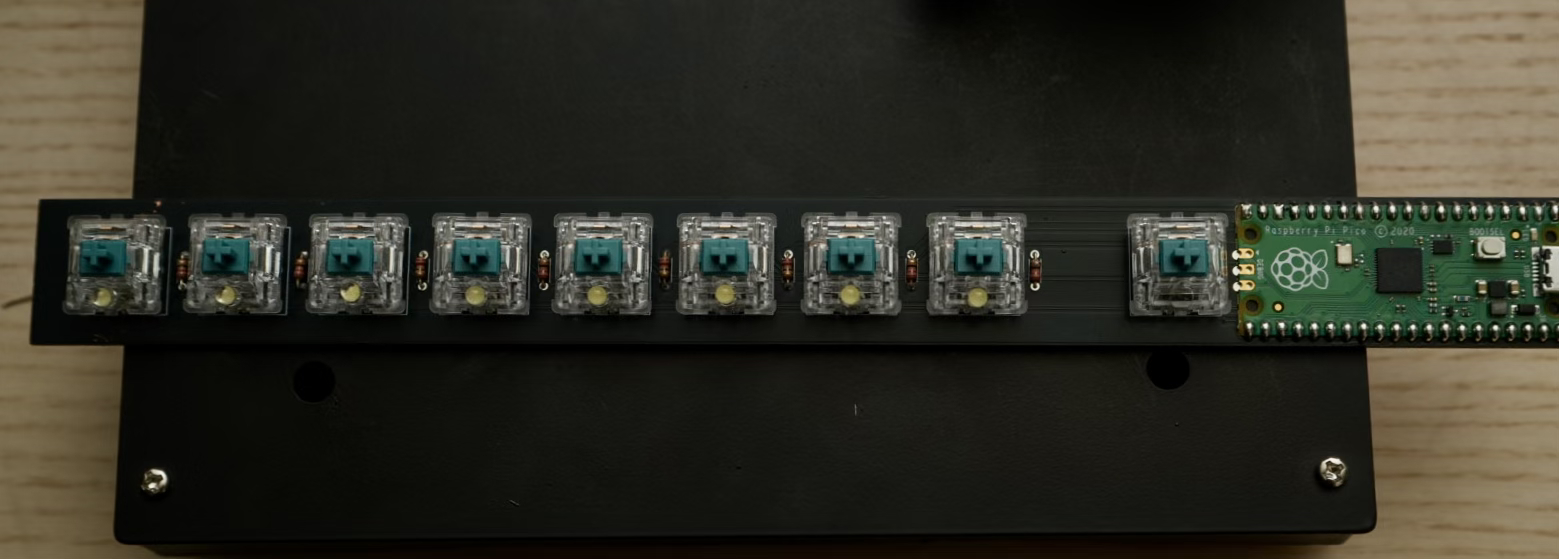
5. Push the keycaps onto the keys
6. Plug in your eight-switch Keyboard and try it out!